The bullet journal is an analog system, meaning you don’t need anything more complicated than a notebook and a pen or pencil. While it’s very customizable, and you’re certainly welcome to change things around, in this article, I will walk you through the setup for a traditional bullet journal as first introduced by Ryder Carroll from BulletJournal.com. Use it as a starting point, get comfortable with the basic system, and then change it from there.
You’ll need a notebook, a pen, and a little bit of time to get started. The type of notebook you use is up to you. The traditional style is grid or dotted paper, but I find even ruled or blank pages work just fine.

Starting Out with Bullet Journaling
The bullet journal method has intrigued me for years. I had a hard time finding a planner that suited me and it is hard to modify a printed planner. The customization options for the bullet journal system, as well as the ability to do rapid logging of my tasks, made my planner dreams come true.
I am not an artist and I will admit I would feel a bit of imposter syndrome when looking at Pinterest or Instagram. Don’t let those with a talent for drawing or a lot of stencils deter you from this journey. I used a bullet journal for a couple of years before I found a planner that incorporated the ideas of bullet journaling into a printed format.

The Key
The first page of your bullet journal will include your key. This will record the shorthand you use for your bullet entries. Here are the traditional codes used. Feel free to add to it, or modify it as needed.
ᐧ (Dot) Task
X Completed Task
> Migrated Task
⃝ Appointment
⬤ Completed Appointment
⟴ Migrated Appointment
– Notes
The Index
Your next two to four pages will be set aside for indexing. This will allow you to quickly find any collection, or get to a particular month. Title each page as an index page and move on to the next section.
The Future Log
With the original bullet journal set up this is a two-page spread that records the coming 6 months. Many bullet journalers find it helpful to use a more traditional yearly calendar instead. This is a great place to record birthdays, anniversaries, or block out vacation time. Add or note the page number and record your future log in your index.
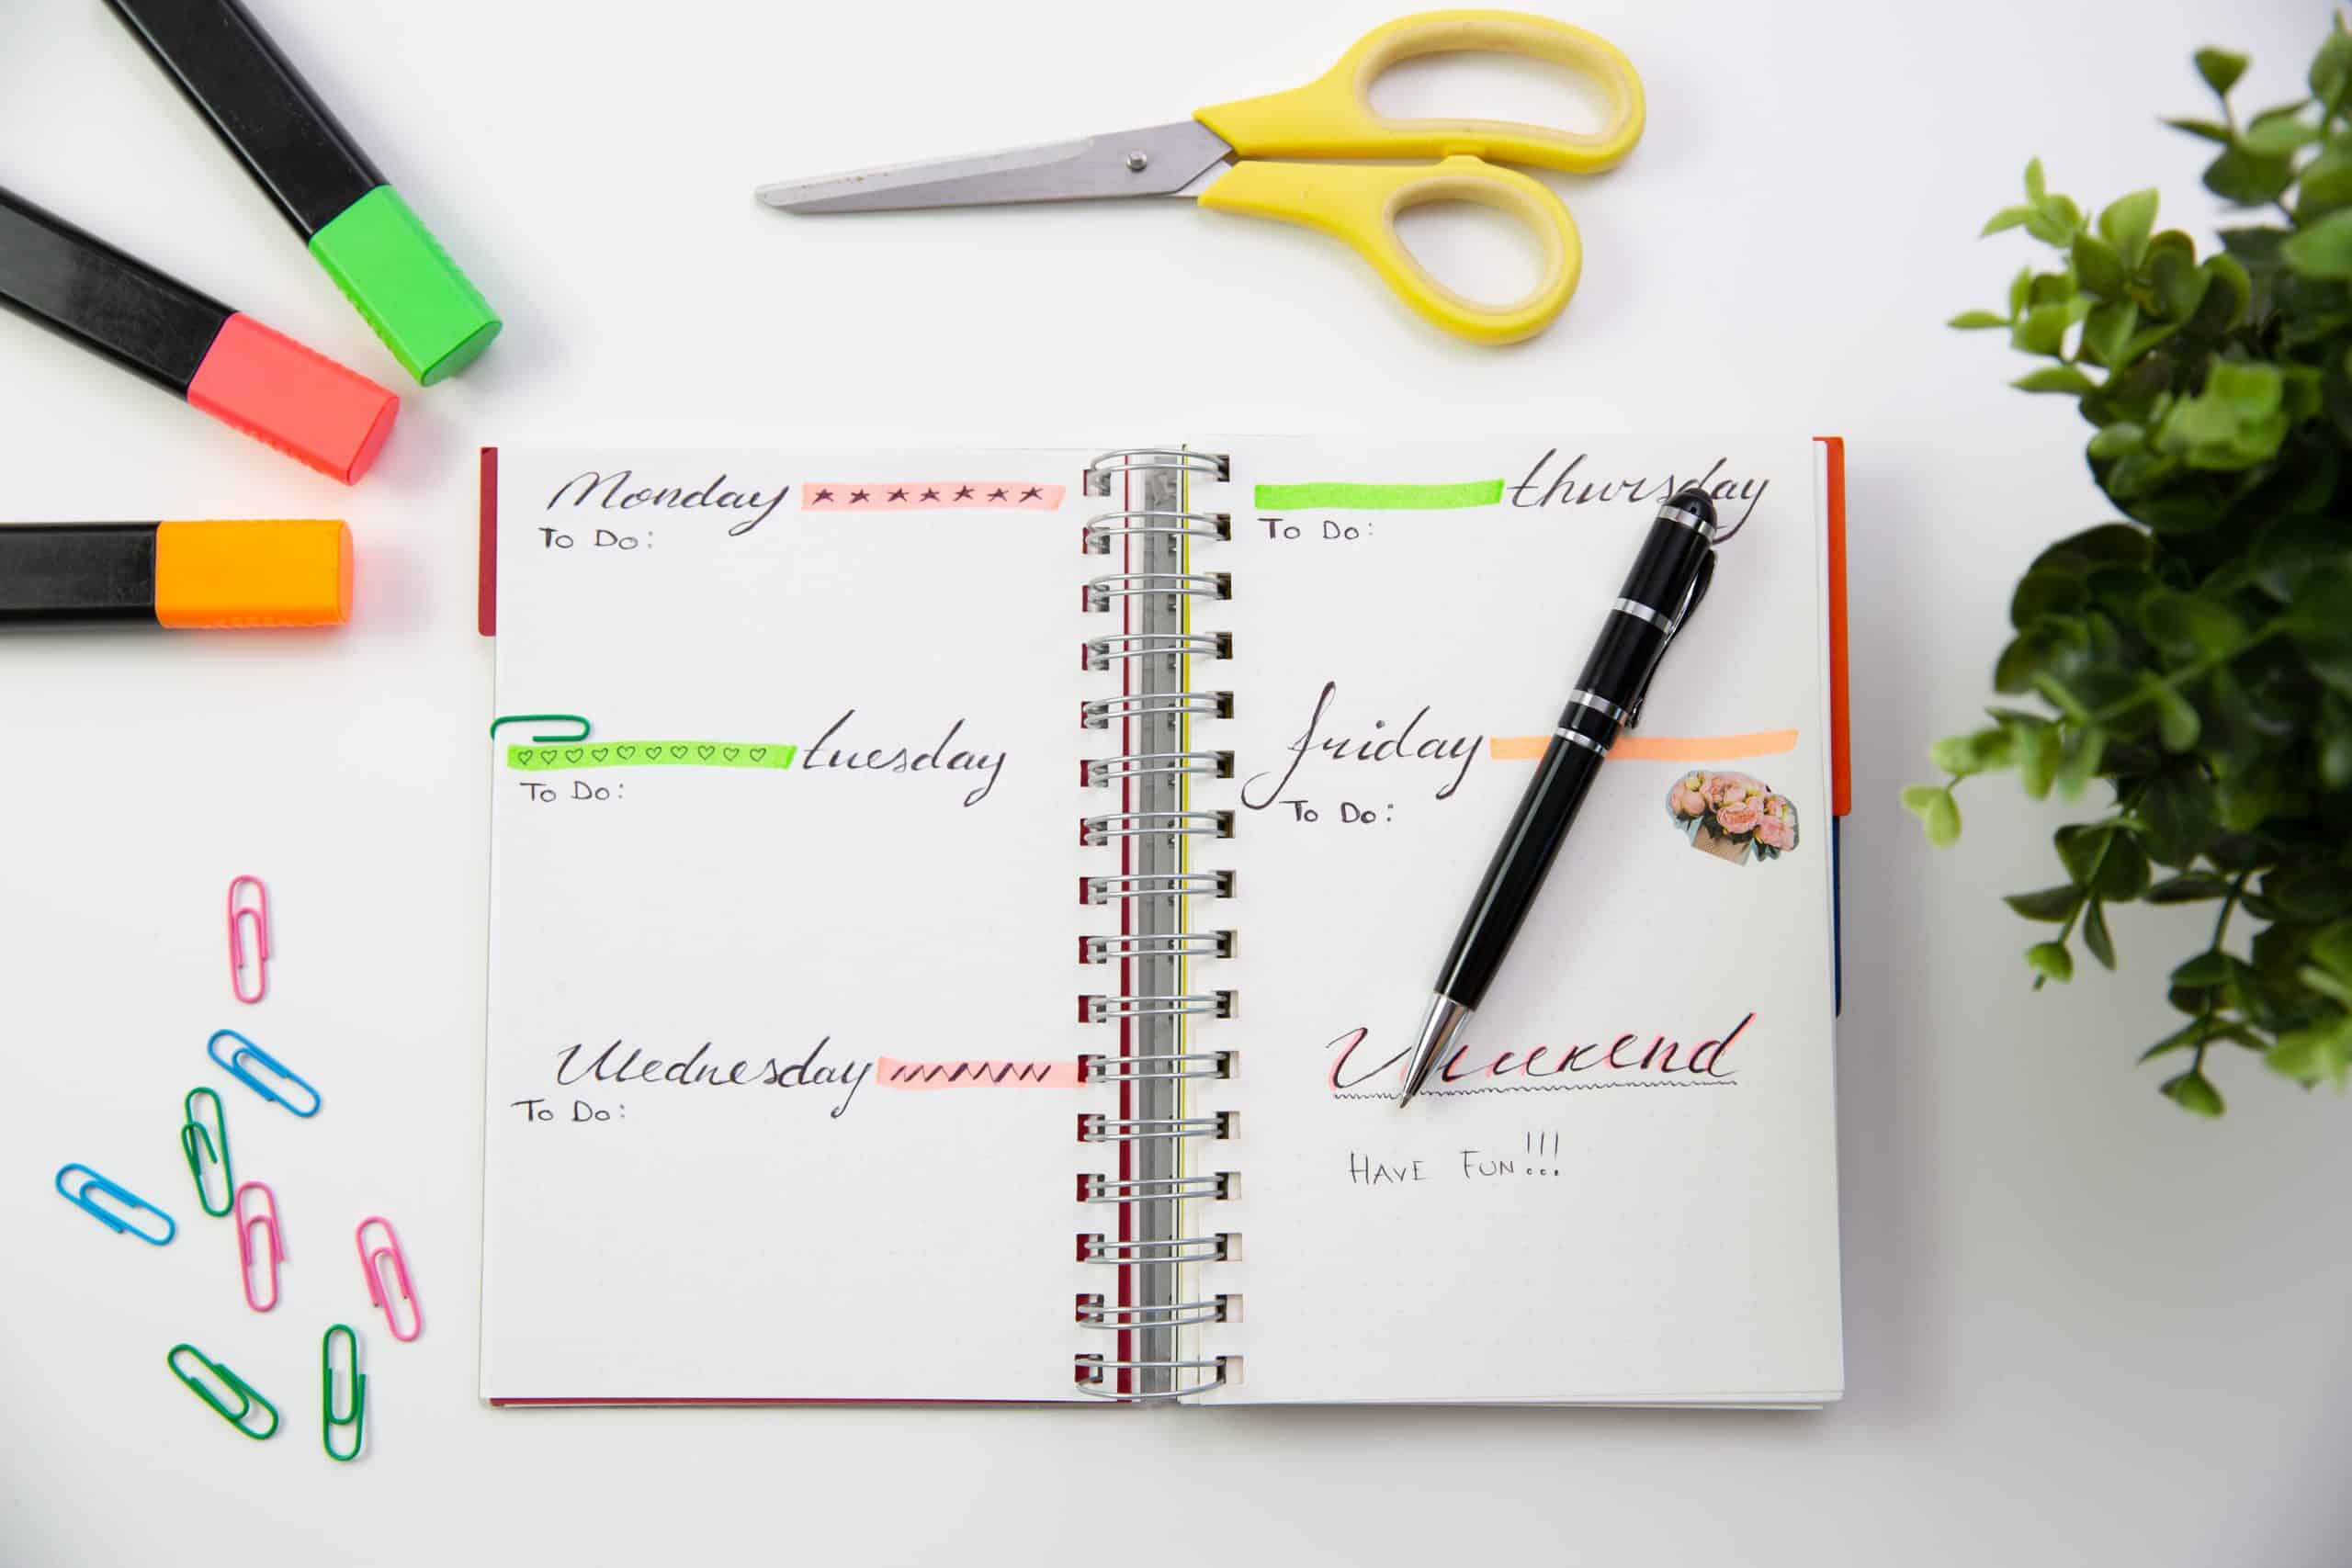
Monthly Logs
Start each month with a monthly log. Here you’ll record appointments and due dates. You can use a grid layout, or use one line for each day of the month. While this isn’t where you’ll track most of your tasks, the monthly log will come in handy for those times when you have a dentist appointment or your daughter is invited to a friend’s birthday party.
![]()
Daily Logs
The daily log is where you’ll spend most of your time in the journal. Start a new section each day and record anything important for the day. Make your list of tasks and cross them off as you get them finished. Make notes of anything important you need to remember throughout the day as well as appointments as they pop up.
Everything gets logged in the daily log for speed and ease. From there you can move it as needed to the monthly or future log, or migrate it to a different day.
Migrating Tasks
At the end of your day, or first thing the next morning it’s time to review your tasks and cross out and migrate anything that isn’t checked off. For example, if you didn’t get around to doing laundry today, draw an arrow through it, and add the task to today’s daily task list.
If you noted an appointment that came up yesterday, move it to your monthly list and draw an arrow through it in yesterday’s list. If something no longer applies then cross it out. Your goal is to deal with each entry from your daily list by completing it, migrating it, or crossing it out.
Collections
The final part of the puzzle is collections. These are basically thematical lists you make that aren’t date related. A perfect example is a list of books you want to read.
Start the list on the next blank page. Title it and start jotting down the books you want to read. Make a note of the page you’re on and add this collection to your index page. Now when you want to add a new book title to this list or reference it to see what you want to read, you can easily find it via the index.

Wrap Up
Now you know everything you need to know about starting your bullet journal. Will you give it a try? How will you tweak the system to suit your needs?
